You made it to the event. Great start.
You set up the booth, installed the tent weights, found the tape, fixed the sign, and somewhere in the middle of it all, you even remembered to take photos.
A responsible business owner. A marketing machine. Practically a content creator.
Then you get home, scroll through the photos, and… hmm.
The products are there, but they look a little flat.
The booth is there, but it doesn’t quite show the full setup.
The market looked busy in person, but somehow the photos make it feel oddly quiet.
And that one great shot? There’s a garbage bin in the background, naturally.
It happens all the time.
Here are a few simple photo angles to capture at your next market, so you leave with photos you can actually use. These tips also come in handy for market organizers taking shots of their event.
- Take a full booth photo:
- Capture the customer’s view:
Stand where a shopper would stand and take a photo facing the booth.This gives people a realistic look at what they would see if they walked up to the table. This type of photo is especially useful to find out whether the booth is easy to understand at a glance.
- Get close to the products
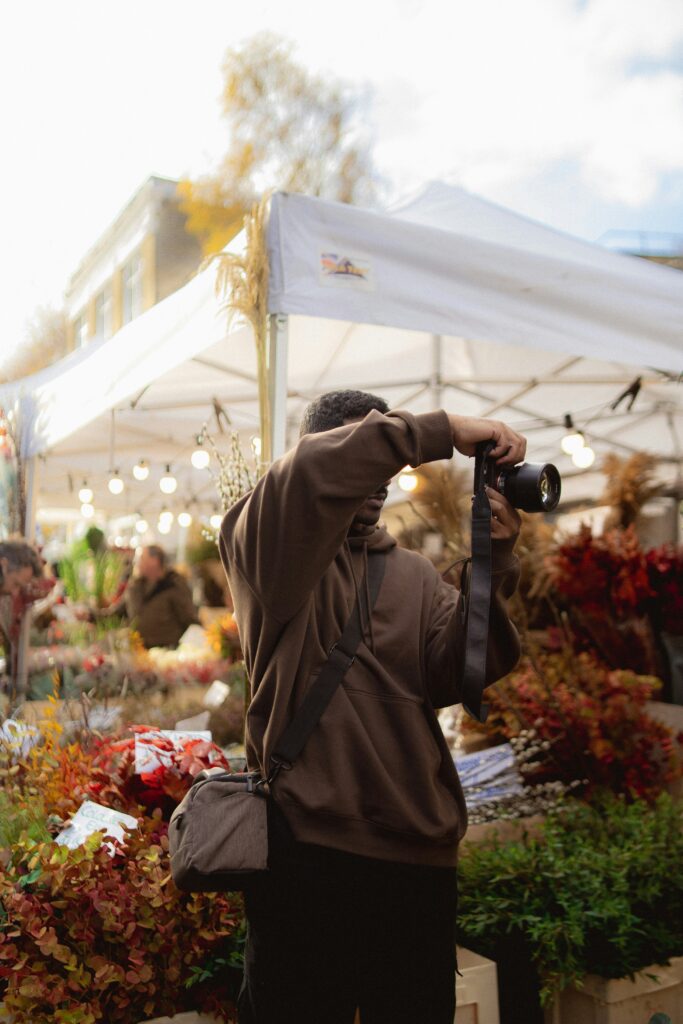
- Show hands at work
Photos feel more human when something is happening. This could be: pouring coffee, arranging flowers, packing an order, weighing produce, wrapping a purchase or restocking the display. For this one you don’t need to show your face, only the hands and product should be in the frame. If you’re vending solo ask your both neighbour to do a quick photo shoot together!
- Photograph the tiny details
These small pieces show personality and care. Examples: Price tags, product labels, baskets, display stands, handwritten signs, menu boards, samples, table textures.
- Show the energy of the market
This one is especially important for market organizers. People want to know what the market feels like. Is it lively? Friendly? Family-friendly? Busy? Cozy? Outdoorsy? Food-focused? Community-driven? Show:
Shoppers waling through, vendor tents lined up, people browsing, musicians playing, families, dogs, strollers, community moments.
- Take action pictures
- Try an overhead shots
Overhead photos work well for products, food and table displays. Stand above the product and take the photo looking down. Just watch for your shadow!Birds-view shots are also great to capture the entire market. If you can climb a ladder, get access to a balcony or higher building nearby to show the layout, size and surroundings of the event.
- Move to the side
Try stepping to the side and taking photos from an angle. It shows depth, layers, and often these pictures feel more natural, less staged.
- Take photos before the rush
The booth is stocked, the signs are straight, the table is tidy, and no one has yet asked where the bathroom is while you are trying to open a box with your keys. Make photos part of the setup routine: Set up, tidy the table, take photos, then coffee.
- Capture a busy booth
If a booth has a crowd, take a quick picture from a respectful distance. It shows customer interest, market energy and social proof that your booth is a must-visit!
A few easy ways to improve your photos
- use natural light: bright shade is often better than harsh direct sun
- clean your lens: sounds simple but it matters
- take more than one photo: choose the best one later
- watch the background: before you take the photo, look behind the product or booth
- shoot vertical and horizontal: take both when you can. Vertical photos for social media, horizontal ones for websites, media, banners and newsletters
The goal
Good photos help people answer a few simple questions:
- What is being sold?
- Who is selling it?
- What does the booth look like?
- What does the market feel like?
- Why should someone stop by?
Clear, real photos help vendors attract shoppers and help organizers promote the full experience of the market.
So next market day, take a few extra shots from different angles.
Your future social media posts and online appearance will thank you.
Lettuce talk soon,
Isabel
P.S. behind My Market Scout is no big tech company, no investors, just myself. I’m working everyday on building a tool that supports and serves many markets and vendors.